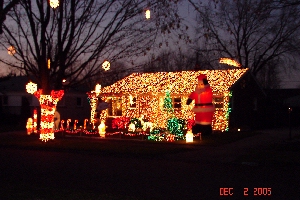
 Hanging Christmas can be true test of ones Patience! Over the years I've learned some tricks along the way. Some of them were developed at work when I worked in the electrical panelshop. Others were simply learned as the display got larger and larger. In this section I will show you some of them. One thing that I won't cover here on this page is storage which is a big help in putting them up.
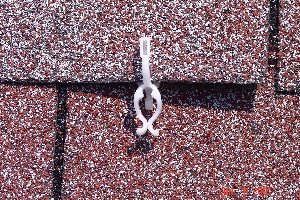 There are several things I use to hang lights. Let's start from the top down. The first few years the roof was a little neglected because I couldn't figure out how to put the lights up there. Well as you can see from the picture I did figure that one out. From my local Target store I found these clips. They work very well on the roof. I use about 400 when I cover it. I start on the gutter where I put the clips every 5". They snap on and will hold several types of lights, including minis, c9's,and rope light.
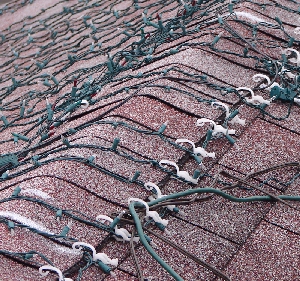 On the peak of the roof I use a steel putty knife and gently lift the top shingle on the back side of the roof. Then I put the clips under the shingles every 5". Notice on the back side of the roof I painted marks to subdivide the roof into equal sections for the "Piano key effect".
 I also put the clips on the gutters every 5" to match the roof. Now It's time for the lights. I start with the female connector on the gutter side and zig zag the lights up and down from bottom clip to top. When that string runs out I tie with a slip knot to the next string. This knot does two things. It eliminates the lightless area that would form if you just plugged the next string. The other thing it does is take the stress off the connection, so you can make the strings tighter and straight.
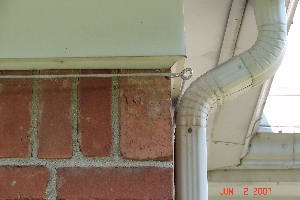 Another method I use is steel cable for support. I installed 3/16 plastic coated cable across the front of the house to hang the lights. This cable is held up with stainless steel screweyes. The screweyes are anchored with a device called a lag shield. These require a 1/2" hole in the wall then the lag shield is tapped into the wall and then the lag scerw threaded screw eye is screwed in.
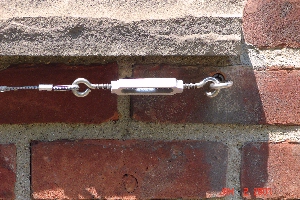 Then the cable is attached and stretched tight with a stainless turnbuckle with one end opened slightly. The lights are fastened with wire ties to the cable on the top and staked into the ground with wickets on the bottom.
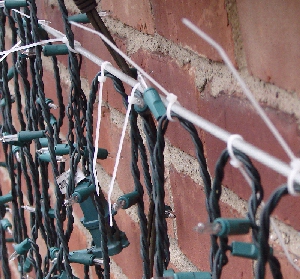 The lights are fastened with wire ties to the cable on the top.
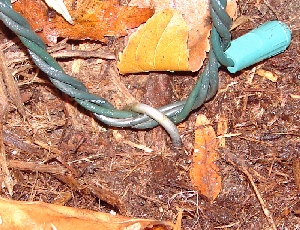 Then the lights staked into the ground with wickets on the bottom.
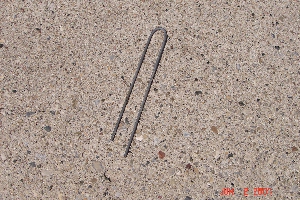 The wickets (like a mini croquet wicket) is a 10" piece of 12 gauge, galvanized steel, drop ceiling, wire bent in half into a U.
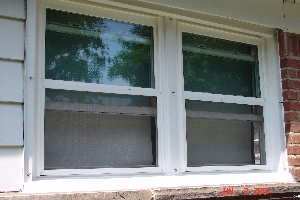 Another alternative for hanging lights is cup hooks. I use quite a few of these as well. I use them where I don't or can't use the steel cable or when they just plain work better. They are use around all of our windows. I use a 24" piece of 1/2" PVC to put the lights up on the windows because the cup hooks are so easy to attach lights to. When using them in a place where the weather can get to them. Install them first using a small drill bit in a cordless drill to make a pilot hole then thread it in. Then remove it and put a dab of silicone caulk on the thread to seal the hole and to help hold it in the thin aluminum siding or trim.
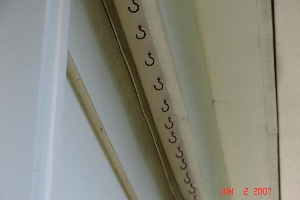 Cup hooks also work well underneath the eaves I've used them in a couple areas that completely hides them from view. Make sure you always use real solid brass cup hooks. Some of the ones that look like brass are actually brass plated steel. These WILL rust and unless you have rust colored siding they will leave behind rust streaks which on white siding are hard to get rid of.
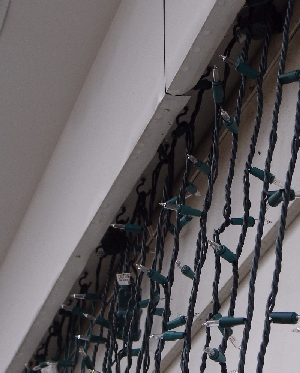 This is a closeup of the lights on their hooks.
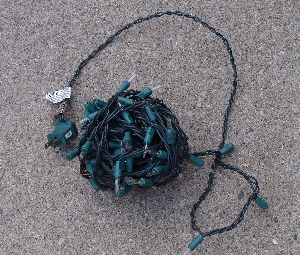 The other kind of obvious way to put up lights is to wrap them on. I've done this for years and I've learned a couple of tricks for doing that. The first what some call child abuse but they kind of like it. Get a string of lights and give it to a child. Most children love to get dizzy. We even make kind of a game of it. See who can walk the straightest after wrapping a strinng on the tree. It works for me...? However if I have no helpers I pre-ball the lights before wrapping. This sllows the lights to be unwound instead of untangled as you wrap the tree or pole.
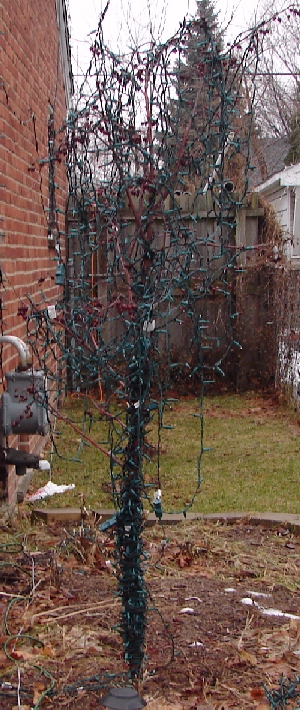 This is a picture of the poor little crabapple tree that I loaded with 1000 lights. I don't advise this for tree huggers or the faint of heart;)
This uses the wrapping with a ball technique.
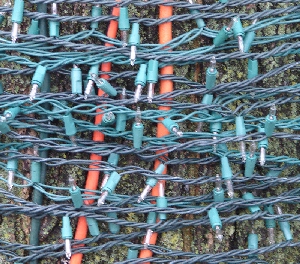 Just to get an idea how dence you want to wrap lights, heres a picture of the large Maple tree in the front yard. I don't even bother to wrap the lights into balls on the main trunck because it is so large. It is also so large I can't reach around, so If I don't have any help I have to get dizzy. Maybe this will be the next machine I make!!!!!
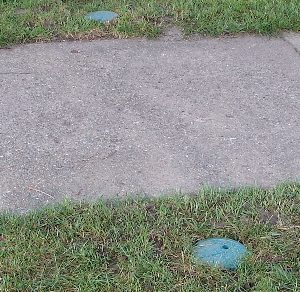 After loosing a few lights to a snowblower incident I thought it would be a good idea to come up with an alternate method to get past the sidewalk. So I got two sprinkler valve boxes and dug a hole on each side of the walk. The far hole in the picture ended up being quite long so I could drive a steel pipe under the sidwalk. Unfortunately there were a lot of roots in the way which made the going tough.
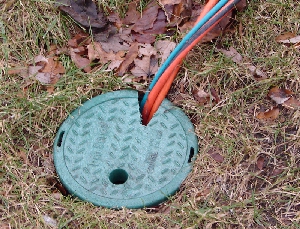 This picture shows the v slots cut into the lid to allow the extension cords and the communications cord to go through.
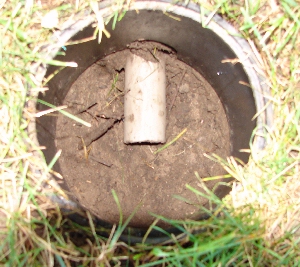 The steel pipe had to be drive a little way then taken out to empty it so it would cut a hole instead of forcing a hole. Then after getting a nice hole cut this plastic pipe was put in very easily. Now when I need power to the maple tree out front I have a safe from snowblower pass through under the sidewalk.
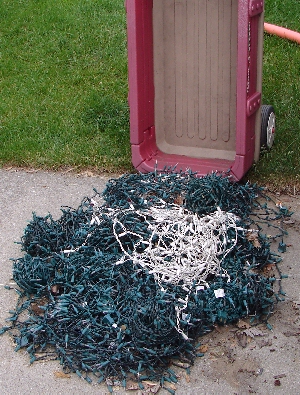 And just to show everyone I'm not a miracle worker when it comes to Christmas lights this is my pile of BAD lights from the 2006 season. This is also one of my 2007 summer projects:(
 Hanging Christmas can be true test of ones Patience! Over the years I've learned some tricks along the way. Some of them were developed at work when I worked in the electrical panelshop. Others were simply learned as the display got larger and larger. In this section I will show you some of them. One thing that I won't cover here on this page is storage which is a big help in putting them up.
