I completed this project in 2007. I plan to keep this as part of the display from now on as it is a great feature for an animated display.


I completed this project in 2007. I plan to keep this as part of the display from now on as it is a great feature for an animated display.

The front yard, like most, has a side walk on it and there are a lot of things on display in it along with over a hundred extension cords. It's not the best place to be running around in come Christmas time. So a fence is being made to be a point of interest as well as a barrier. Above is a picture of the layout. Between each section is going to be a Chrismassy looking post. The posts will be 2 1/2' high with a round globe light on top. They have a red candycane stripe from bottom to top. the back of each pole will have 2 outdoor spotlight fixtures to light up the grass in both red and green. As you can see each section is divided into 8 individual sections. Each of the small sections is going to have it's own LOR channel so the fence will look like the leaping fountains that you see at Disney or other locations.
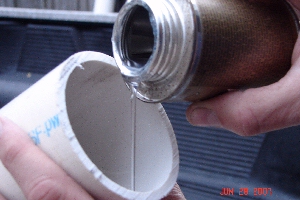 The posts are made from 3" PVC to anchor them, there are reinforcing rod stakes in the ground. The 3" PVC has a 24" piece of 1/2" PVC glued to the inside. Both pieces we cleaned with pvc cleaner. Then glue was applied to the inside of the 3" by pouring it in the end.
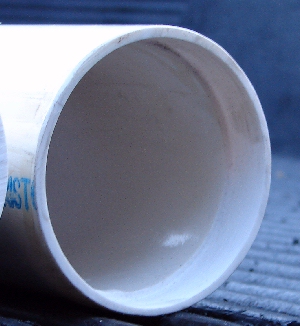 The top sides of the posts were machined to fit the acrylic globes with a slip fit. This was done on a mill with a boring bar that will cut up to 3.5". It took about 15 minutes to setup and about 1 minute each tube. PVC machines very nicely, in fact on a couple of the tubes I had a one piece curly Q. After making all the holes needed to mount the spotlights, globe light socket, and rope light tiedowns, the pipes were painted white with rustoleum plastic paint.
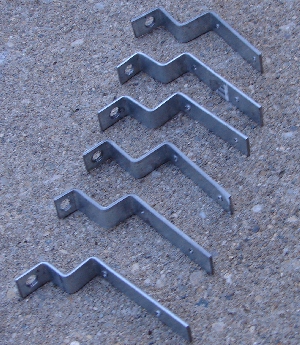 These are the brackets for the globe light socket. The top side is threaded 1/8 NPT to fit standard lamp threaded tubing. I'm using standard C9 sockets.
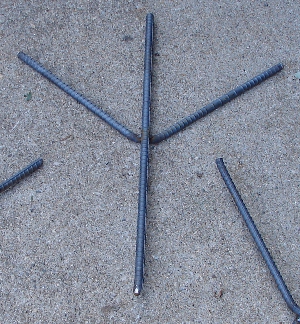 These stakes were made from 1/2 reinforcing rod. It was cut into 24" sections. Half of them were bent at 90 deg in the middle. I used an arbor press with a bending jig. Then I welded them together. They will be driven 12" into the ground so the V is flush with the ground. Then the north poles will be slid down through the 1/2 " internal PVC
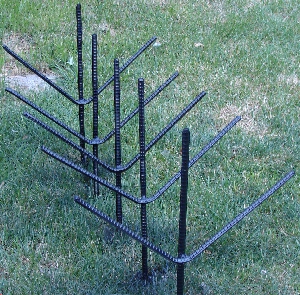 They were then painted black to keep them from rusting and make anything that shows dissappear into the night.
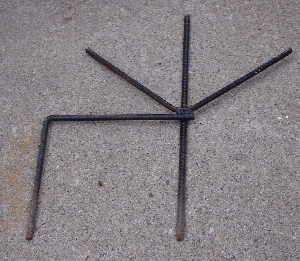 Well...as all my projects go somethings need to change to work properly.
I had to add an antirotation stake to all the stakes to hold the arches in line with one another.
For 2008 I added this and it did the trick! Simple solution .
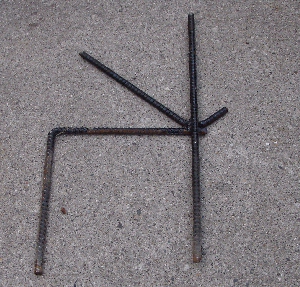 I also had to remove one of the angle supports off of two of the stakes which are on the ends of the fence
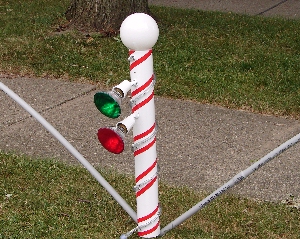 This is the first post finished . It slid down over the reinforcing rod perfectly. and it supports the arches nicely also. The globe has a 40 watt inside. this has a cord dropped down and out about 3 feet. The ropelight has a 3 ft cord on the end and each of the 90 watt spotlights has a cord. This year the globe and the ropelight will be on all the time. I can change that when I get more LOR channels.
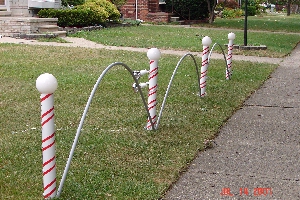 This is a preliminary fence set up to see how easy it would be. It took only about 5 minutes to set it up. The poles are 10 feet apart. To get the arches the same height as the globes I needed to make the 3/4" PVC arches 11' 6" long. They slid down the 12" angled rods coming off the stakes.
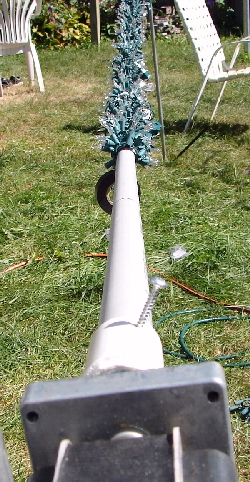 This is a quick winder setup I made so that I didn't have to hand wind the arches. With this winder it took about 45 minutes to wind each arch. Without it about 6 hours. The arches were wired with standard 100 ct mini lights. Each string was wound tight enough to stay on and not sag but loose enough not to damage the light string.To start each section I electrical taped the string to the 3/4 PVC. Then I turned on the winder motor and let it wind away. All that had to be done was guide the string next to the last rotation. At the end of each section it was taped to the PVC again.
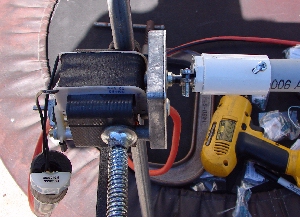 This is the business end of the winder. I just used what I had on hand to get it to work. The gearmotor is on that I bought on Ebay, it is 25 RPM and was just about the right speed. To adapt the shaft to 3/4" PVC a 3/4 PVC slip fit to 3/4" female thread adapter was used. This slides on the PVC pipe then a 1/2 X 3/4 bushing is threaded into it. Then into this a 1/2" romex clamp is screwed into the bushing and then clamped onto the shaft of the motor.
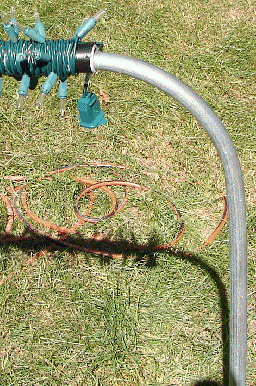 This is the other end of the winder. It is simply a piece of 1/2 EMT thinwall conduit bent and pushed into the ground. with the bearing surface inside the PVC it allows the arch to be wrapped all the way to the end.
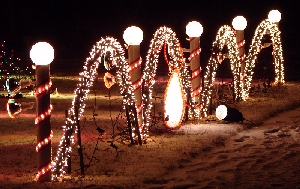 Here are the arches all lit up and ready for the show!
All the arches had 8 channels on them. For 2007 they were all wired together so all the arches were simultaneous in their animations. This will be expanded to 32 channels for some more interesting effects.
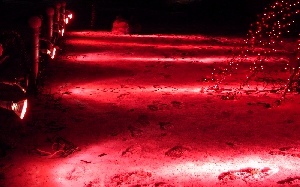 This is a picture of the spotlights in all red mode. The snow really amplifies the amount of light. Although the grass shows up quite well.
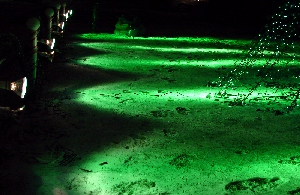 This is a picture of the spotlights in all green mode. It's really funny how brown grass can look great this time of the year.
I might use this method in the summer as well!